Learn how to connect the iPhone 4s or iPad 2 with Linux operating system because iTunes is not available for Linux edition then how you can connect the device with Linux system.
Please choose the step 1 based on the linux edition you have.
Step 1 - Download and Install libimobiledevice : UBUNTU
Ubuntu 10.10 or 10.04 LTS
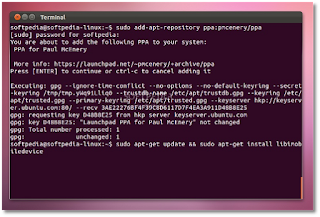
Open the terminal and hit the CTRL+ALT+T key combination on your keyboard and paste the following command in the terminal window.
sudo add-apt-repository ppa:pmcenery/ppa
When password prompt enter your login password and hit enter.Next, paste the following command to install the libimobiledevice required library.
sudo apt-get update && sudo apt-get install libimobiledevice
Step 1 - Download and Install libimobiledevice : Mandriva, Fedora, Debian and openSUSE
Download the libimobiledevice 1.0.6 from its official homepage ( http://www.libimobiledevice.org ) . Copy the downloaded archive file on home directory and extract it. Open a terminal window and type the following commands:
sudo apt-get install -y build-essential automake autoconf gettext libusbmuxd-dev libglib2.0-dev libgnutls-dev libplist-dev libplist++-dev python-dev
cd ~/libimobiledevice-1.0.6
./configure prefix=/usr
make
sudo make install
Step 2 - Reboot system
When the installation is over, reboot your computer to apply an effect
Now connect your iPhone4s or iPad 2 to your Linux edition and now it will recognize.

Comments
Post a Comment